Build an MCP Server with Google Calendar and Custom Functions
Curated by n8n Markets team
Last updated: March 8, 2026
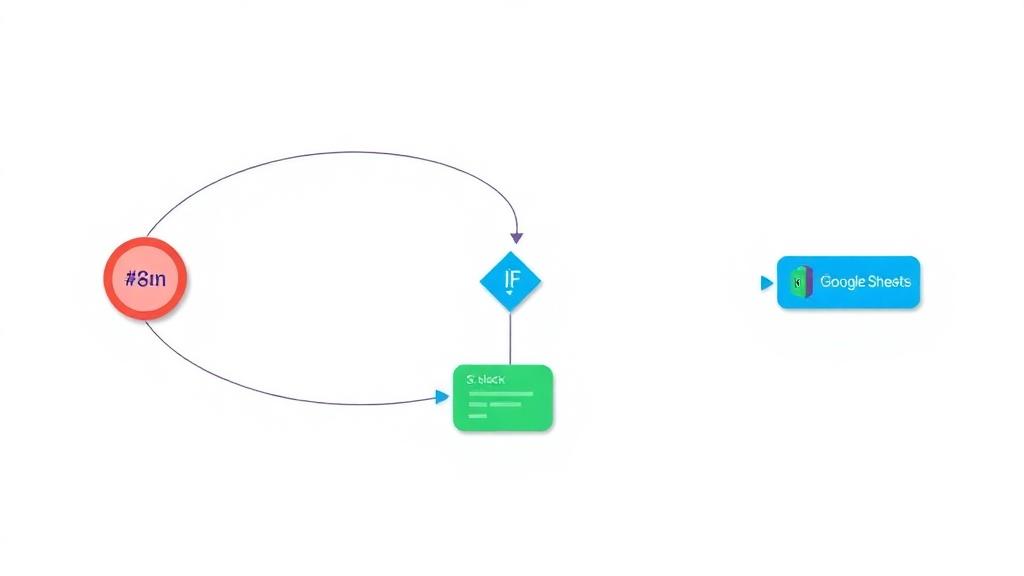
Learn how to build an MCP Server and Client in n8n with official nodes. > ⚠ Requires n8n version 1.88.0 or higher. In this example, we use Google Calendar and custom functions as two separate MCP Servers, demonstrating how to integrate both native and custom tools. How it works The AI Agent connects to two MCP Servers. Each MCP Trigger (Server) generates a URL exposing its tools. This URL is used by an MCP Client linked to the AI Agent. Whenever you make changes to the tools, there’s no need to modify the MCP Client. It automatically keeps the AI Agent informed on how to use each tool, even if you change them over time. That’s the power of MCP 🙌 Who is this template for Anyone looking to use MCP with their AI Agents. How to set up Instructions are included within the workflow itself. Check out my other templates 👉 https://n8n.io/creators/solomon/
What's Included
- Complete n8n workflow template with 0 nodes. Ready to import and customize.
Requirements
n8n instance (self-hosted or cloud). credentials.
How to Use
1. Download the workflow JSON 2. Import into your n8n instance 3. Configure credentials for 4. Activate and enjoy automation
How to import this template into n8n
- Download the workflow JSON file from this page.
- In n8n, open Workflows, create a new workflow and choose Import from File.
- Open each node that shows a warning and connect your own credentials.
- Run the workflow once manually to check the output before you activate it.
- Importable n8n workflow JSON file
- Download with Builder Pro or Agency Unlimited
- Built for n8n v1.0++
- Setup time: 30-60 min
Included in Builder Pro — $19/mo, 4,177 premium workflows
Before you activate
Templates are reviewed before they are listed. Test with your own credentials and data before running it in production.
100% Secure Checkout
Refund requests within 7 days of a new subscription
0 reviews
No reviews yet.
Questions & Answers
Log in to ask a question.
No questions yet. Be the first to ask!
People Also Bought
Related Automation n8n templates
- Generate AI Videos with Google Veo3, Save to Google Drive and Upload to YouTube
- Scrape and summarize webpages with AI
- Create a Branded AI-Powered Website Chatbot
- Angie, Personal AI Assistant with Telegram Voice and Text
- AI agent chat
- Automated Web Scraping: email a CSV, save to Google Sheets & Microsoft Excel
- Respond to WhatsApp Messages with AI Like a Pro!
- Basic Automatic Gmail Email Labelling with OpenAI and Gmail API